Key things that make the best homebrew starter kits stand out
Quality gear that keeps brewing simple
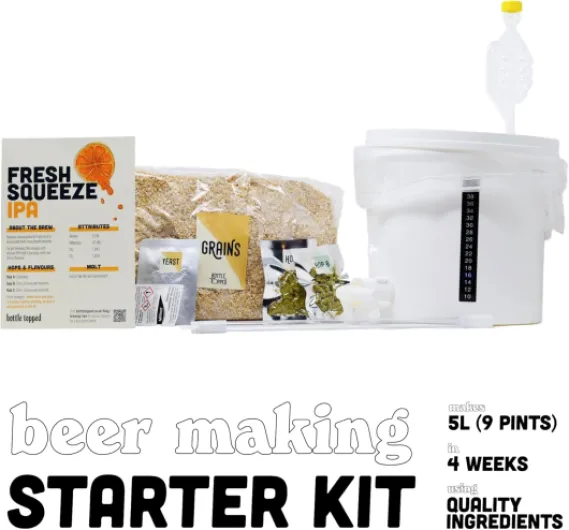
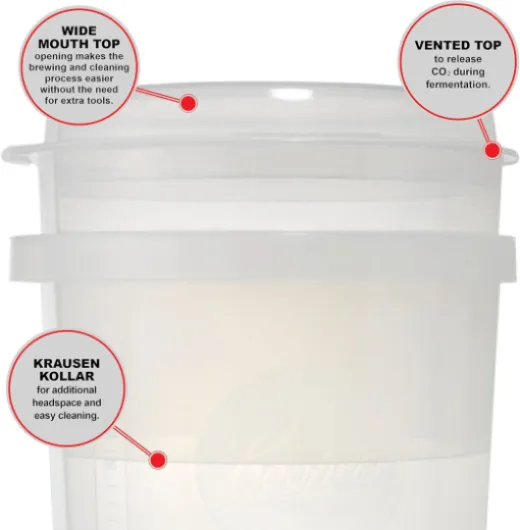
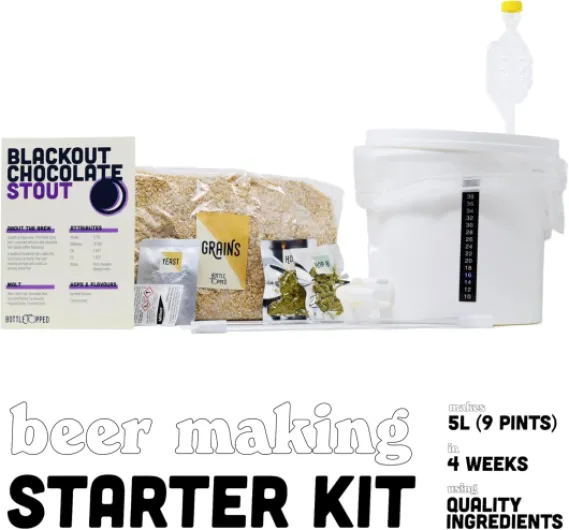
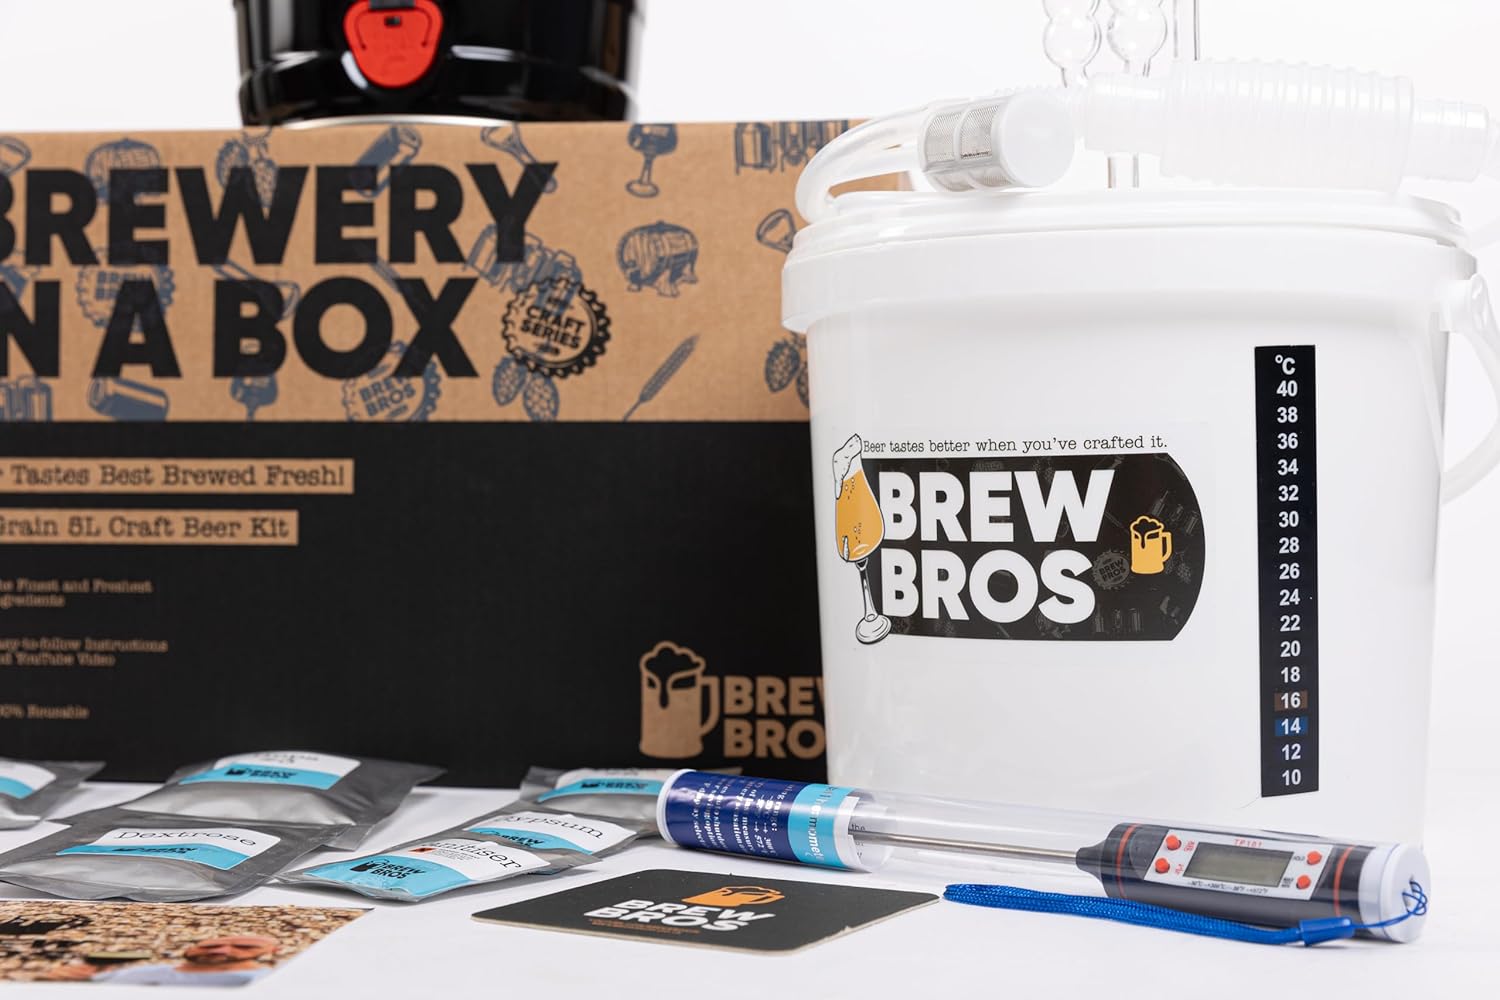
The best homebrew starter kits give you sturdy, food-grade equipment that will last beyond your first few batches. Look for a fermenter with a tight-sealing lid and airlock, a reliable bottling wand, and tubing that does not kink easily. Clear volume markings help you repeat recipes accurately and support the habit-building you will refine later in your brewing journey.
Thoughtful design for clean, safe fermentation
Good kits make sanitation and temperature control as painless as possible. A proper sanitizer, a hydrometer, and a thermometer are not “nice to have” extras ; they are essentials. Kits that include these tools help you avoid off-flavors, infections, and stalled fermentations, so you can focus on learning how ingredients and process shape your beer.
Recipes and guidance that build confidence
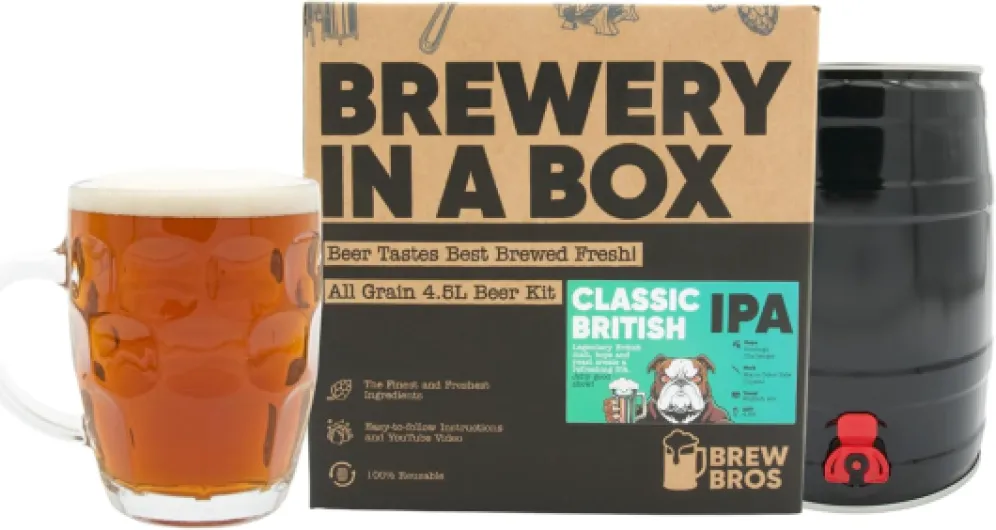
Clear, step-by-step instructions are a major difference between average and excellent starter kits. Look for recipes written in plain language, with realistic timelines and troubleshooting tips. Kits that offer multiple recipe options (for example, pale ale, stout, or wheat beer) let you explore styles while keeping the process approachable. If you enjoy branching out into other fermented drinks, resources like this comprehensive kombucha brewing guide can complement your beer-making skills and deepen your understanding of fermentation.
Room to grow without replacing everything
Top-tier kits are easy to upgrade. Standard-sized fermenters, common fittings, and compatible accessories mean you can add better kettles, extra carboys, or advanced tools later without starting from scratch. This flexibility supports the long-term habits and experimentation you will develop as you move from your first batch to more ambitious brewing projects.
Comparing popular homebrewing kits and gallon sizes for real life use
Matching kit sizes with your brewing goals
Before comparing brands, think about how much beer you realistically want to brew at a time. One-gallon kits are ideal if you are short on space, want to experiment with different styles, or are not sure you will stick with the hobby. They produce a small batch, are easy to store, and mistakes are less costly.
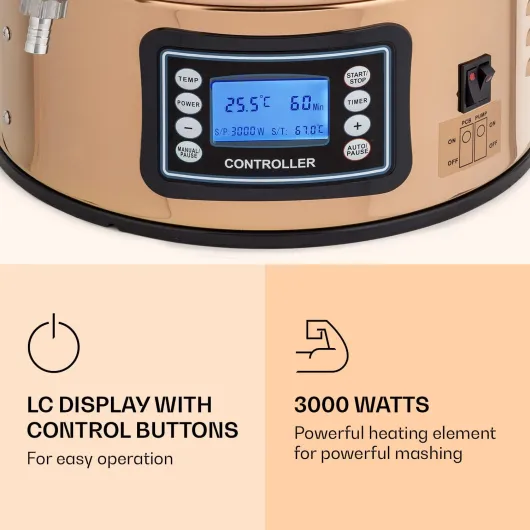
Standard 5-gallon (around 19 L) kits are the classic homebrew size. They suit people who already know they enjoy craft beer and want enough bottles to share. These kits usually include sturdier fermenters, larger kettles, and more robust cleaning gear, which supports the good habits you are building with your first equipment.
Larger volume kits (6 gallons / 23 L and above) are best if you have space, a dedicated brewing area, and friends or family to help drink the results. They can be more economical per bottle, but they demand more time, lifting, and careful temperature control.
Equipment differences that matter in daily use
When comparing popular homebrew starter kits, look beyond the marketing photos. Check the quality of the fermenter (graduated markings, solid lid, reliable airlock), the type of bottling wand, and whether a hydrometer and thermometer are included. These small tools make it easier to repeat recipes and improve your beer over time.
Pay special attention to how you will move beer from fermenter to bottles. Kits that include a good auto-siphon and food-grade tubing make transfers cleaner and reduce the risk of oxidation or contamination. If your kit is basic, you can upgrade later with quality siphons and tubing for homebrewing to make racking and bottling smoother.
Finally, compare how clearly each kit explains the process. A slightly simpler kit with excellent instructions often beats a complex one that leaves you guessing on brew day.
From first batch to confident brewer : how a starter kit shapes your beer making habits
Building confidence with each brew day
Your first batch with a homebrew starter kit is mostly about following the steps and getting a feel for the process. You learn how to sanitize, boil, cool, ferment and bottle without worrying about complex equipment choices. That early structure builds confidence ; you see that beer making is repeatable, not mysterious.
On your second and third brews, you start to tweak. Maybe you steep specialty grains a little longer, adjust hop timings or pay closer attention to fermentation temperature. Because the kit keeps the core workflow the same, you can change one variable at a time and actually taste the impact in your glass.
Over time, the tools in your kit become second nature. You know exactly how much headspace to leave in the fermenter, how vigorously to stir in extract and how to read airlock activity without obsessing. That familiarity frees mental space to think about recipe design, yeast strains and beer styles instead of basic logistics.
From following instructions to brewing with intention
Most starter kits come with simple recipes that match the equipment and batch size you chose earlier. As you gain experience, those recipes turn into templates. You learn how to swap hops, adjust malt balance or experiment with dry hopping while still staying within the limits of your kit.
This gradual progression shapes your brewing habits. You get used to taking notes, tracking temperatures and planning your brew day around the gear you already own. When you eventually upgrade or add new tools, you do it with a clear sense of what actually improves your process, because your starter kit has taught you how a solid, consistent routine feels.
Practical tips to choose, maintain and get the most from your homebrew starter kit
Choosing a kit that fits your brewing style
Start by matching the kit to how you actually live and brew. If you have limited space, a compact 1–2 gallon kit is easier to store and clean. If you already know you love hoppy IPAs or rich stouts, pick a kit that includes a wide range of recipe options and equipment that can grow with you, like a larger fermenter and a quality bottling wand.
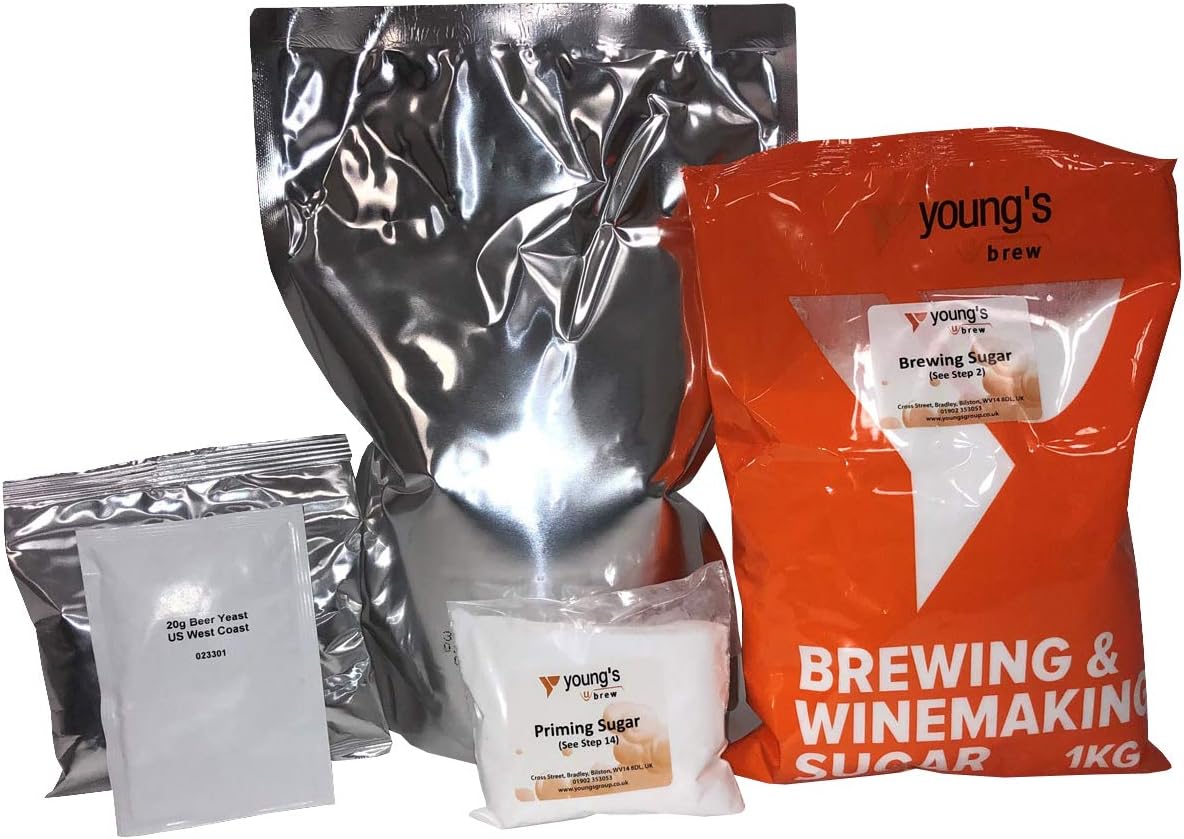
Think about how much hand-holding you want. Some kits are very beginner-friendly with clear step-by-step instructions and pre-measured ingredients, while others assume you are ready to experiment. The more you plan to brew, the more it makes sense to invest in durable gear rather than the absolute cheapest option.
Simple habits to keep your gear in top shape
- Clean immediately after use : rinse fermenters, tubing, and spoons with warm water as soon as you are done.
- Sanitize before every batch : anything that touches cooled wort or beer must be sanitized, not just cleaned.
- Protect plastic from scratches : use soft cloths, not abrasive pads, to avoid tiny grooves where bacteria can hide.
- Store dry and loosely sealed : let everything air-dry fully, then store in a clean, dry place to prevent mold and odors.
Getting the most flavor from each brew day
Use your starter kit as a learning lab. Brew the same recipe twice, changing only one variable at a time : yeast strain, fermentation temperature, or dry-hopping schedule. Keep simple notes on what you did and how the beer tasted. Over a few batches, you will see clear patterns in what you enjoy.
As your confidence grows, you can add upgrades that complement your original kit, such as better temperature control or more precise measuring tools, turning that first purchase into a long-term brewing setup.