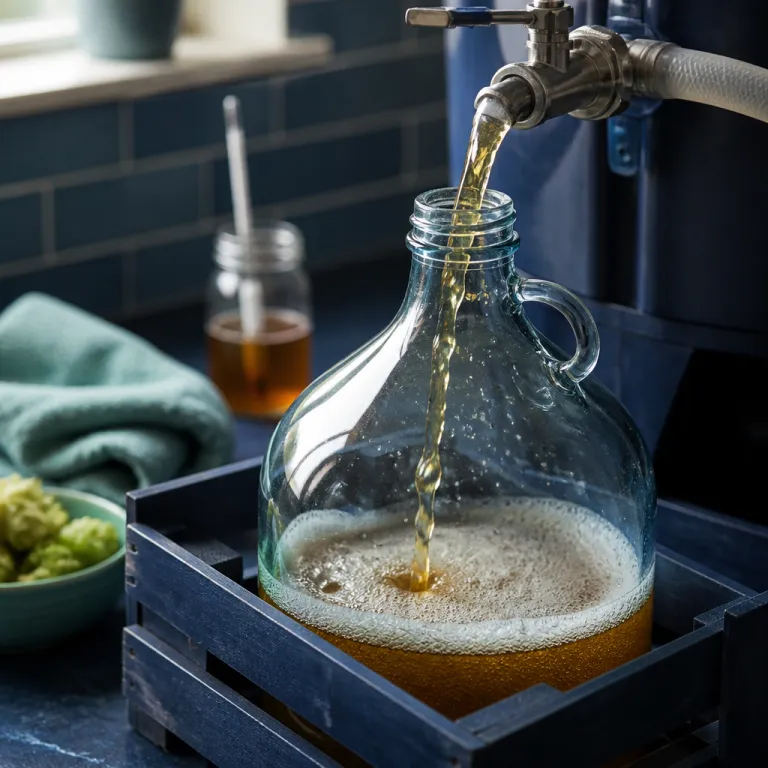
Why brewing lager at home feels different from brewing other beer
Why lager feels like a new chapter in your homebrewing journey
Brewing your first lager at home can feel like stepping into a different world, even if you already have a few pale ales or IPAs under your belt. On the surface, it is still malt, hops, water and yeast. But the way those pieces come together – and how clearly you taste every decision – makes lager feel more demanding and, ultimately, more rewarding.
With many ales, bold hop character or rich malt can hide small mistakes. Lagers do not offer that safety net. Their clean, crisp profile means any flaw in your process, from mash temperature to fermentation control, tends to show up in the glass. That is why patience and precision suddenly matter more than ever.
You will also notice that the timeline stretches. Ales often feel almost instant by comparison, going from brew day to pint in just a few weeks. Lagers, on the other hand, ask you to slow down. Cooler fermentation, extended conditioning and careful handling of the beer all play a role in building that smooth, refined character you expect from a good lager.
The equipment you use can shape this experience too. A reliable starter setup, such as a 6 gallon home brewing kit for beginners, can make it easier to control volumes, temperatures and transfers as you learn. Later, when you start choosing specific lager recipes, dialing in mash steps and managing yeast health, you will appreciate having a system you already trust.
In many ways, brewing lager at home is less about chasing complexity and more about chasing clarity. That shift in mindset sets the stage for everything that follows, from recipe choices to fermentation techniques and tasting your results with a more critical, confident palate.
Choosing a lager recipe, grain and hops that actually fit your setup
Start with a style that matches your gear
Not every lager is a good fit for a first home batch. Your equipment, fermentation control and space all matter more than the recipe’s hype factor.
For a first attempt, aim for:
- Moderate strength (around 4.5–5.5 % ABV) so fermentation is easier to manage
- Simple grain bill with just a few malts
- Moderate bitterness so small flaws are not painfully obvious
Classic choices that work well at home include helles, Vienna lager or a clean “export” style. They are flavorful enough to be interesting, but forgiving compared with ultra-pale or very strong lagers.
Building a grain bill that keeps things simple
For your first lager, think in terms of a base plus one or two accents:
- Base malt : Pilsner or pale lager malt as 85–95 % of the grist
- Color and depth : a touch of Vienna, Munich or light crystal malt
- Avoid roasted grains and heavy caramel malts at this stage
This approach makes it easier to connect what you taste later with the ingredients you used, which will help when you tweak future batches and refine your mash technique.
If you are new to full-volume mashing, this all-grain brewing at home guide can help you plan your first mash day around a lager recipe.
Choosing hops that support, not dominate
Lagers are about balance and clarity of flavor. Look for classic noble or noble-style hops with herbal, floral or spicy notes. Keep late additions modest, and skip aggressive dry hopping for now. This will set you up nicely when you focus on clean wort handling and fermentation in the next parts of your lager journey.
Nailing mash, boil and wort handling for clean lager flavor
Setting up your mash for crisp, clean lager character
For a clean lager, your mash needs to be more than just “good enough.” Aim for a balanced fermentability that gives you a dry, crisp finish without feeling thin. A single infusion mash around the lower end of the typical temperature range helps enzymes create a highly fermentable wort, which your lager yeast will love. If your system allows it, a short step mash with a brief rest at a slightly lower temperature can further improve fermentability and head retention.
Water chemistry matters more than many new lager brewers expect. If your water is hard or heavily treated, consider using filtered or diluted water and gently adjusting minerals. Keep sulfate and chloride moderate and avoid harsh alkalinity that can muddy delicate malt flavors. This ties back to your recipe choices ; a pale lager recipe will show water flaws much more than a dark ale.
Boil management and wort handling that avoid off-flavors
Once you lauter, treat your wort like something fragile. Runoff should be steady, not rushed, to avoid excessive tannin extraction. During the boil, aim for a firm, rolling boil rather than a violent one. This helps drive off dimethyl sulfide (DMS) precursors that can give cooked corn aromas, while still protecting your volume and gravity targets.
Late hop additions should be measured and restrained, especially if you are brewing a classic lager style. You want a clean bitterness and subtle aroma, not IPA-level intensity. At flameout, chill the wort as quickly as your setup allows. Rapid chilling limits the time bacteria and wild yeast have to get in, and it helps lock in the bright, clean profile you will rely on when you pitch your carefully chosen lager yeast strain in the next stage.
Yeast, temperature and fermentation tricks that separate clean lager from flawed beer
Why lager yeast behaves differently
Lager yeast is less forgiving than most ale strains. It prefers cooler temperatures, works more slowly, and reveals every mistake in your process. A clean lager starts with a healthy pitch of fresh yeast. For most home batches, that means using multiple packs or building a starter so you are not underpitching. Underpitching at cool temperatures often leads to sulfur, fruity esters, or sluggish fermentation.
Oxygen at the right time also matters. Aerate your chilled wort thoroughly before pitching. Lager yeast needs that oxygen to build strong cell walls and ferment cleanly over a longer period.
Dialing in fermentation temperatures
Once you have your wort ready, temperature control becomes your main job. Start fermentation a bit below your target, then let the temperature gently rise as activity begins. This helps reduce harsh sulfur notes and keeps esters in check.
- Primary fermentation : usually in the lower range recommended for your strain
- Mid-fermentation : allow a slow rise of a couple of degrees
- End of fermentation : raise for a diacetyl rest to clean up buttery flavors
A simple fridge with an external temperature controller can be enough. What matters is stability and small, controlled changes rather than big swings.
Cold conditioning and avoiding off-flavors
After the diacetyl rest, gradually cool the beer down to lagering temperatures. Dropping too fast can shock the yeast and leave the beer tasting green. A slow step-down over several days lets the yeast finish its work and then settle out.
During this phase, protect the beer from oxygen. Avoid splashing when transferring and keep your vessels sealed. Oxidation can turn a bright, crisp lager into something dull and papery, undoing all the careful work you put into your recipe, mash, and boil earlier in the process.
Real brew day stories, tasting notes and how to keep improving your home lager
What real homebrew lager days actually look like
Your first lager brew day probably will not feel smooth. Maybe you overshoot mash temperature, scramble to chill the wort fast enough, or fight with a stubborn siphon. That is normal. The key is writing everything down : grain bill, mash steps, boil schedule, chilling time, pitching rate, and fermentation temperatures. Next time, you will adjust instead of guessing.
One common story : the wort looks perfect, but the brewer rushes the chill. The lager still ferments, yet a faint sulfur and green-apple note lingers in the glass. The fix is not magic ingredients. It is better wort handling and tighter temperature control, just like you focused on earlier in the process.
Reading your own tasting notes
When you pour that first glass, do more than just enjoy it. Take five quiet minutes and write structured notes :
- Aroma : grainy, bready, floral, spicy, sulfur, fruity ?
- Flavor : balance of malt and bitterness, any harshness or sweetness.
- Mouthfeel : body, carbonation, smoothness.
- Finish : crisp, lingering bitterness, or any off-flavors.
Then compare those notes to what you aimed for when choosing the recipe and hops. If you wanted a crisp, dry pilsner but got a fuller, sweeter beer, you might tighten mash temperature or extend fermentation and lagering next time.
Turning each batch into a better lager
Improvement comes from changing one or two variables at a time. Next batch, you might :
- Refine mash temperature or duration for a drier finish.
- Adjust hop timing to soften bitterness or boost aroma.
- Dial in fermentation temperature or extend cold conditioning.
Keep a simple brew log, taste side by side with your previous batch, and note what actually changed in the glass. Over a few cycles, your lagers will become cleaner, more consistent, and much closer to the classic styles that inspired you to brew them.