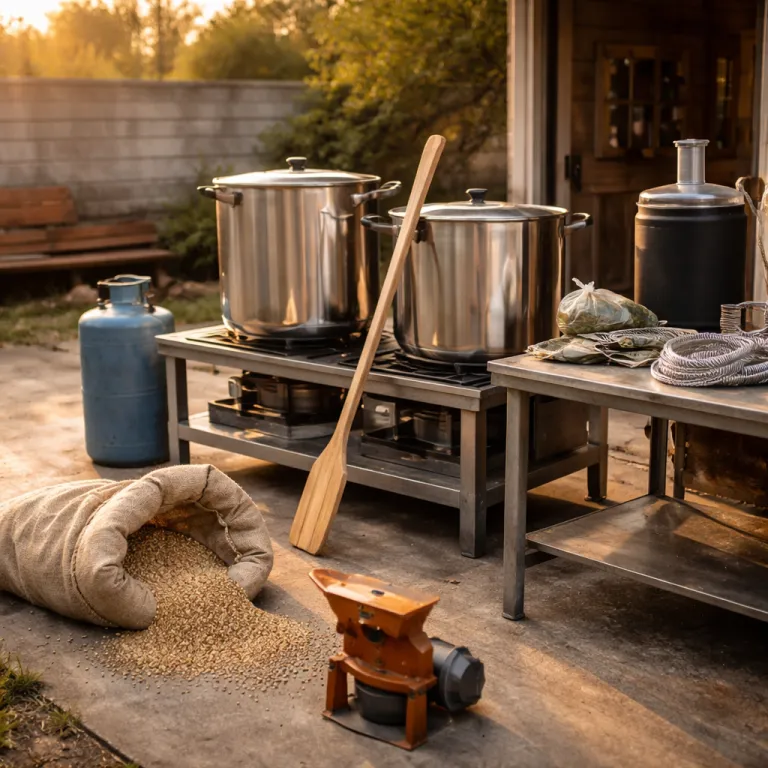
Why your all grain brewing first batch feels scary and why you should brew it anyway
That nervous feeling before your first mash day
Your first all-grain brew day can feel like standing in front of a control panel covered in mysterious knobs and switches. Mash temperatures, water volumes, lautering, sparging, efficiency… it is easy to think that one small mistake will ruin everything. Many new brewers delay their first mash for months because they are afraid of wasting time, money, and ingredients.
Here is the truth : that nervous feeling is completely normal, and it is actually a good sign. It means you care about the beer you are about to make. But all-grain brewing is far more forgiving than it looks on paper. You do not need perfect numbers, fancy equipment, or pro-level skills to end up with a drinkable, even tasty, first batch.
Most of the horror stories you read online come from people chasing perfection, not from people simply trying to brew a solid, enjoyable beer. Your goal on your first mash day is not to brew a competition winner. Your goal is to understand the basic flow : heating water, mashing, collecting wort, boiling, chilling, and fermenting. Everything else can be refined over time.
Instead of obsessing over every variable, focus on a few key decisions you can control easily, like choosing a simple recipe and keeping your mash process straightforward. You will see that even if you miss your target temperature by a couple of degrees or your efficiency is lower than expected, you will still make beer.
If you like to read ahead and feel more prepared, you can start exploring simple recipe ideas and basic tools such as homebrewing infusion equipment that can support your process later on. But remember : the only way to truly learn all-grain brewing is to fire up the kettle and brew that first batch.
Choosing a simple grain bill and recipe for your first all grain brew day
Keep the recipe simple and forgiving
For your first all-grain batch, aim for a recipe that is straightforward and hard to mess up. Classic styles like pale ale, blonde ale, or a simple porter are ideal. They use a clean malt backbone, moderate bitterness, and no complicated additions. This lets you focus on learning the mash and boil process rather than juggling spices, fruit, or multiple hop additions.
Avoid high-alcohol beers, very dark beers with lots of roasted grains, or hop bombs that require precise timing. Those can be fun later, once you are comfortable with your mash routine and confident in your fermentation process.
Build a basic grain bill that teaches fundamentals
Think of your first grain bill as a teaching tool. A great starting point is something like :
- 80–90 % pale malt (2-row or pilsner)
- 10–20 % specialty malt (crystal, Vienna, Munich, or a small amount of roasted malt)
This balance gives you enough character to taste what specialty malts do, while keeping the base malt as the star. You will be able to connect what you taste in the glass with what you put into the mash tun, which will help when you evaluate your results later.
Choose hops and yeast that play nicely
Pair your simple grain bill with one or two hop varieties and a clean, reliable yeast. Classic, widely used hops and a neutral ale yeast will make your brew day smoother and your results more predictable. Save the exotic hops and mixed fermentations for future batches, once you have dialed in your mash temperatures and water volumes.
If you want to explore more gear that can help you handle grain and wort additions with ease, have a look at some practical infusion tools for homebrewers that simplify your setup without overcomplicating your first brew day.
Getting mash water, strike water and mash temperature right without overthinking it
Dialing in your water and mash temperature without stress
For your first all-grain batch, aim for “good enough” rather than perfect lab precision. Your goal is simple : get the grain bed sitting in the right temperature range long enough to convert starches into fermentable sugars.
Start by heating more water than you think you need, then let it cool down to your target strike temperature. A basic rule of thumb is to heat your strike water about 5–7 °C above your desired mash temperature, assuming your grain is at room temperature. If you are aiming for a mash around 66–67 °C, heat your strike water to roughly 72–74 °C, then adjust with a splash of cold water if needed.
When you add the grain, pour slowly and stir thoroughly to avoid dry clumps. Take a temperature reading in a few spots after a minute of resting. If you are a couple of degrees low, add a bit of hotter water and stir. If you are slightly high, stir with the lid off for a few minutes or add a small amount of cool water.
You do not need fancy equipment to move wort after the mash, but a simple auto siphon transfer tool can make handling hot liquid safer and more controlled. It helps you move wort from your mash vessel to the boil kettle with less splashing and less risk of disturbing the grain bed.
Remember, this first batch is about learning how your system behaves. The experience you gain here will make choosing recipes and managing your mash schedule much easier next time, and will give context to the simple grain bill you selected earlier.
From mash tun to boil kettle : handling wort, boil time and hops additions
Moving sweet wort without stress
Once your mash is complete and you have hit your target volume, it is time to move that sweet wort from mash tun to boil kettle. Keep the same relaxed mindset you used when choosing a simple recipe and setting your mash temperature ; this step is mostly about patience and cleanliness.
If you are batch sparging, let the grain bed settle for a few minutes, then open the valve slowly. The first runnings may look cloudy ; recirculate a few jugs back over the top of the grain until the wort runs clearer. Do not chase crystal clarity at this stage – a gentle flow and avoiding splashing are far more important.
When transferring to the kettle, aim for a steady, moderate flow. Big splashes can introduce oxygen while the wort is still hot, which may dull flavors later. If you are lifting and pouring, keep the vessel close to the kettle and pour in a smooth, controlled stream.
Boil length and hop timing made simple
For a first all-grain batch, a standard 60 minute boil is perfectly fine. Bring the wort to a strong, rolling boil, then reduce the heat just enough to prevent boil-overs. A spray bottle of water or briefly lowering the heat can tame rising foam.
Think of hop additions in three simple groups :
- Early hops (around 60 minutes left) for bitterness.
- Middle additions (20–30 minutes left) for flavor.
- Late or flameout hops (0–10 minutes left) for aroma.
Use a timer and note each addition in your brew notes. You do not need complex schedules ; one bittering addition and one late addition already give you a tasty, balanced beer. As with your grain bill and mash targets, keep it simple, observe what happens, and let this first boil teach you how your system behaves.
Realistic expectations for your first batch : mash efficiency, flavor and learning from the beer
What “good enough” really means for a first all grain batch
Your first all grain beer does not need to be perfect to be a success. In fact, it will almost certainly fall short of the ideal you had in mind. That is normal. You are learning a new process, from choosing a simple grain bill to managing mash temperatures and the boil. The goal is a drinkable beer and a better understanding of what actually happens on brew day.
Many new brewers obsess over numbers, especially mash efficiency. If your efficiency lands somewhere in the mid‑60s to low‑70s, you are doing fine. A few points below the recipe’s target gravity will not ruin the beer. It just means a slightly lighter body or lower alcohol than planned. Next time, you can adjust your crush, mash time, or water volumes with more confidence.
Judging flavor without being your own worst critic
When you taste that first pint, focus on broad impressions before hunting for flaws :
- Is it reasonably clean, without harsh sourness or vinegar notes ?
- Does it resemble the style you aimed for in color, aroma, and general flavor ?
- Would you pour a glass for a friend without apologizing every two seconds ?
If the answers are mostly yes, you have a successful first batch. Any rough edges – a bit too bitter, a touch thin, slightly cloudy – are valuable feedback, not failures.
Turning this batch into your best brewing lesson
Right after brew day and again when you first taste the beer, write down what you did and what you noticed. Note mash temperature, how quickly you hit it, how your lautering felt, how vigorous the boil was, and how the hops came through. Next time you choose a recipe or plan your mash and boil, those notes will guide small, targeted changes. That is how average first beers turn into consistently good homebrews.