How a hydrometer works and what “triple scale” really means
What your hydrometer is actually measuring
A hydrometer measures the density of your wort or beer compared with water. In brewing terms, that density is called specific gravity (SG). Fresh wort is full of dissolved sugars, so it is denser than water. As yeast ferments those sugars into alcohol and CO₂, the liquid becomes lighter and the gravity drops.
By taking a reading before fermentation (original gravity, or OG) and another when fermentation is complete (final gravity, or FG), you can estimate alcohol by volume and how fully the yeast attenuated. That is why a hydrometer is just as essential as your kettle or fermenter.
What “triple scale” means on a brewing hydrometer
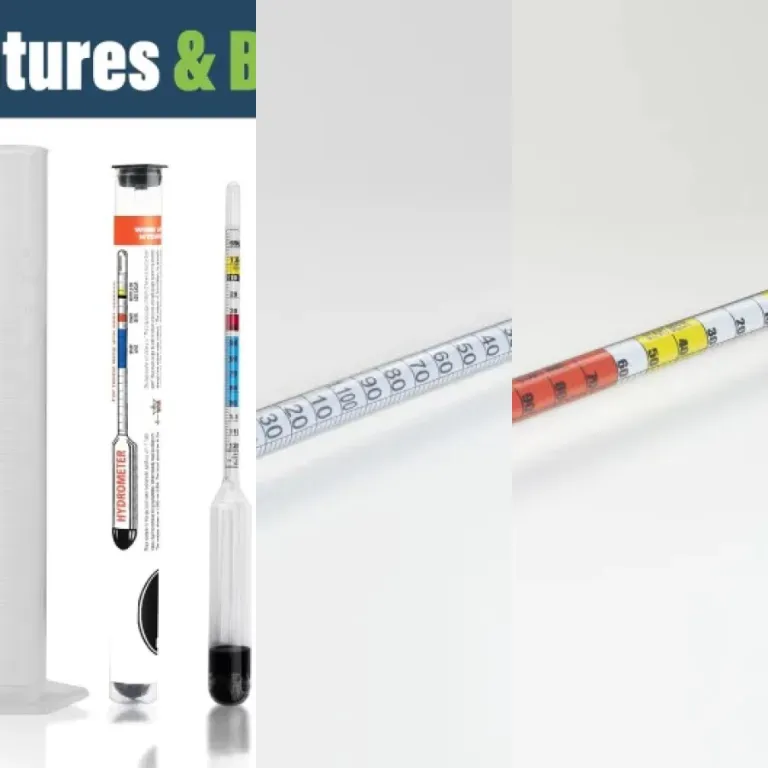
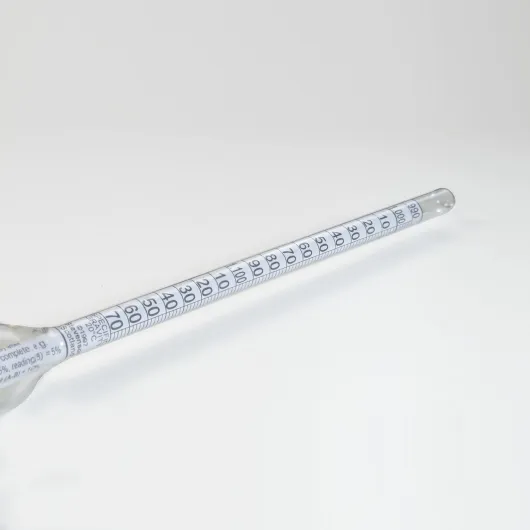
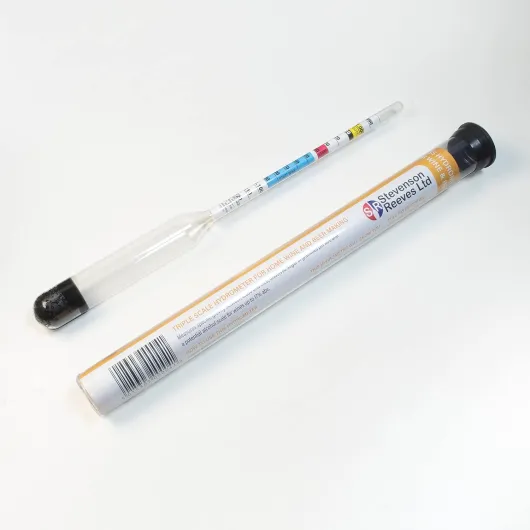
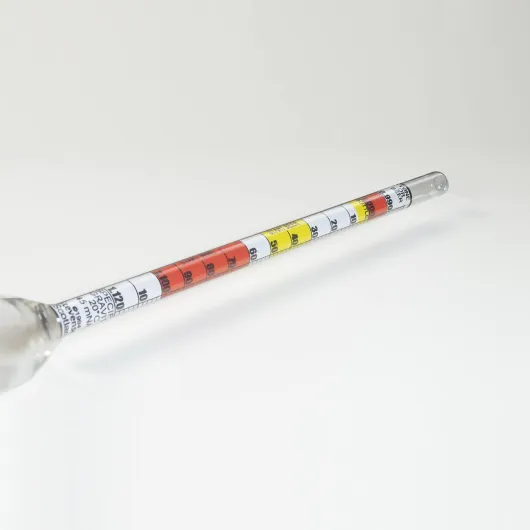
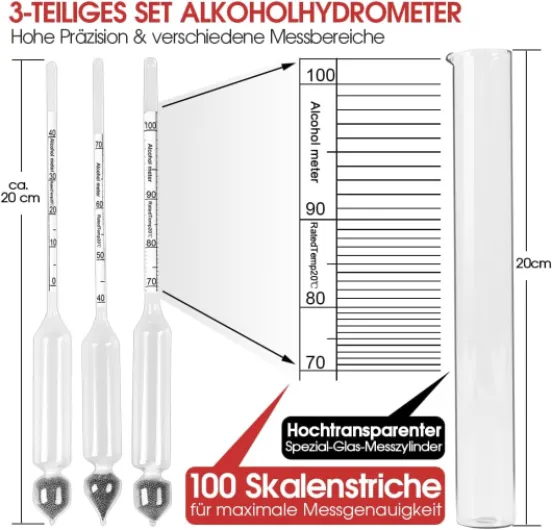
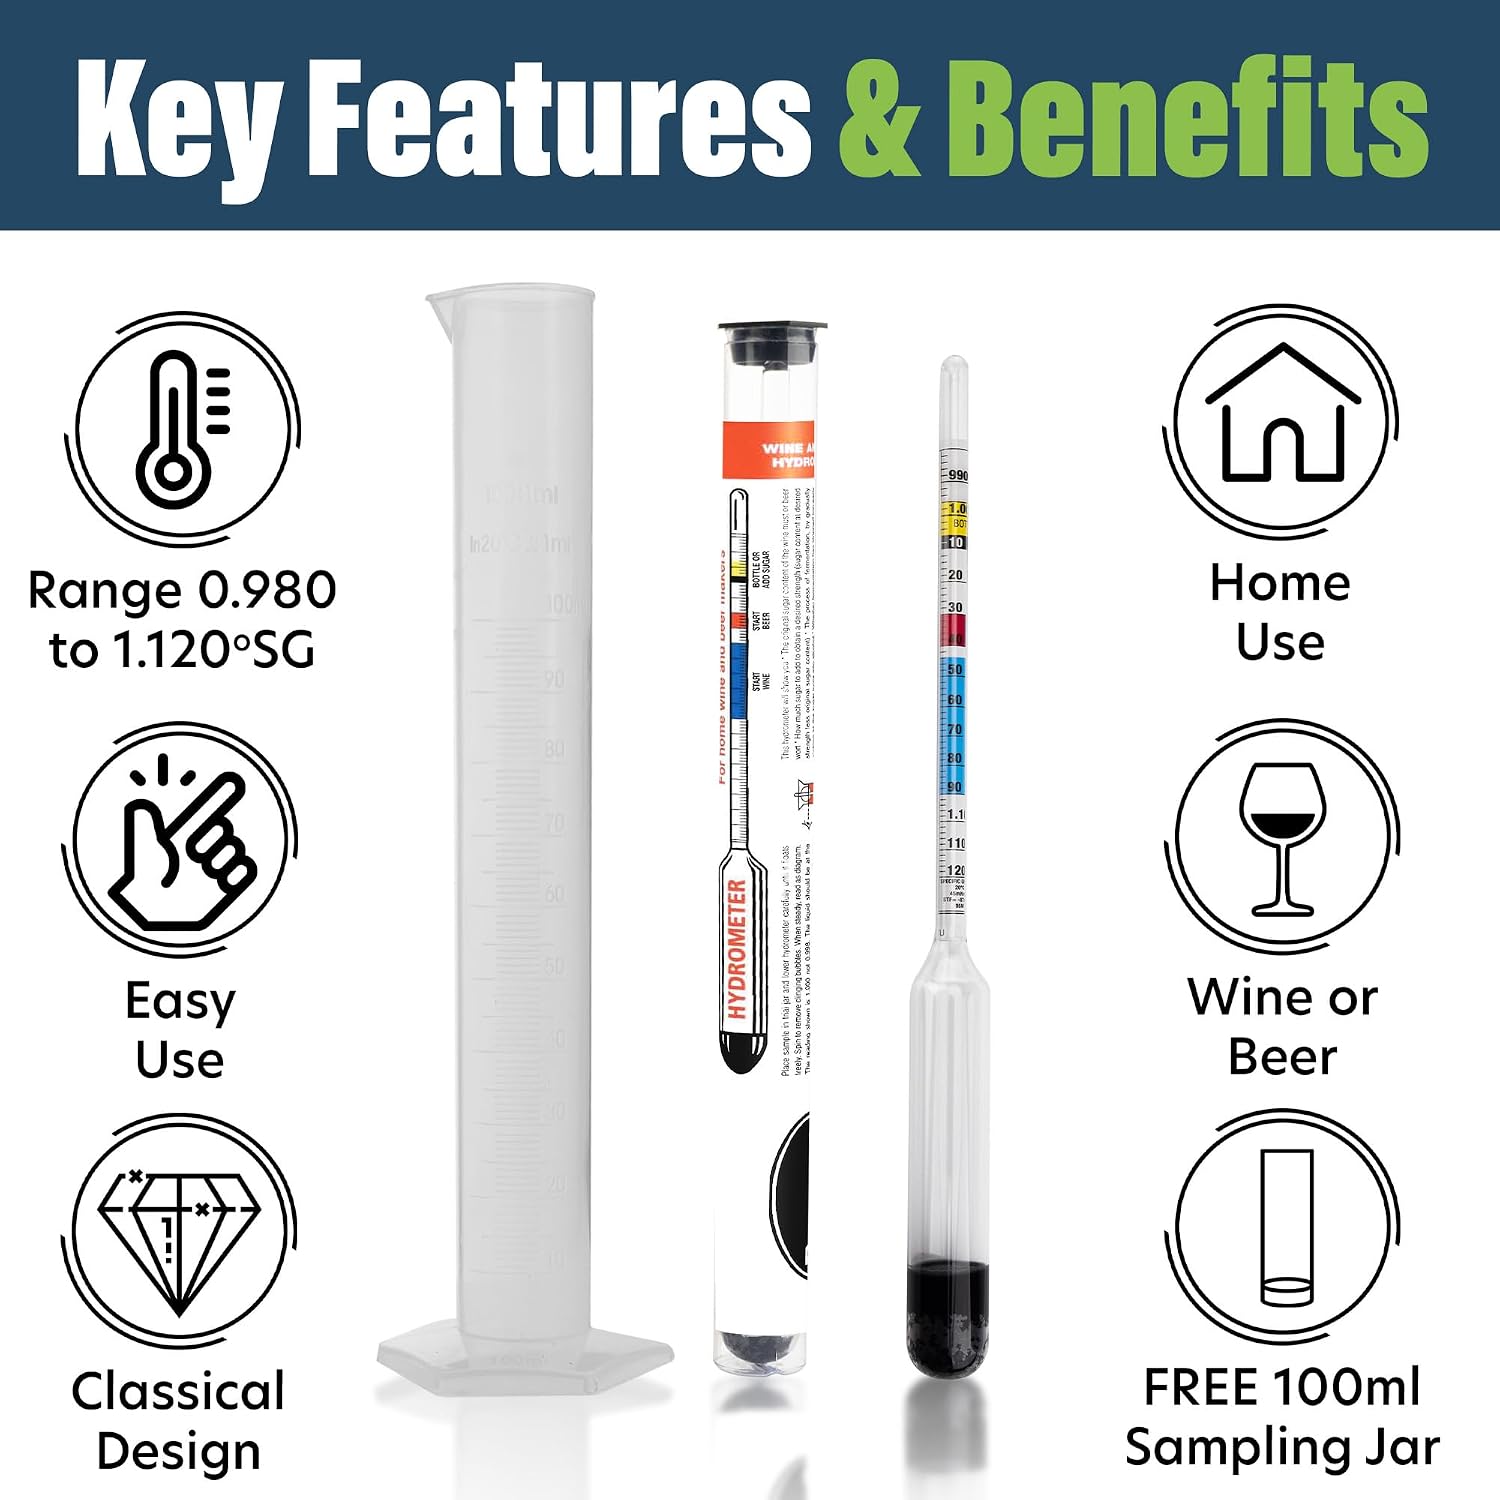
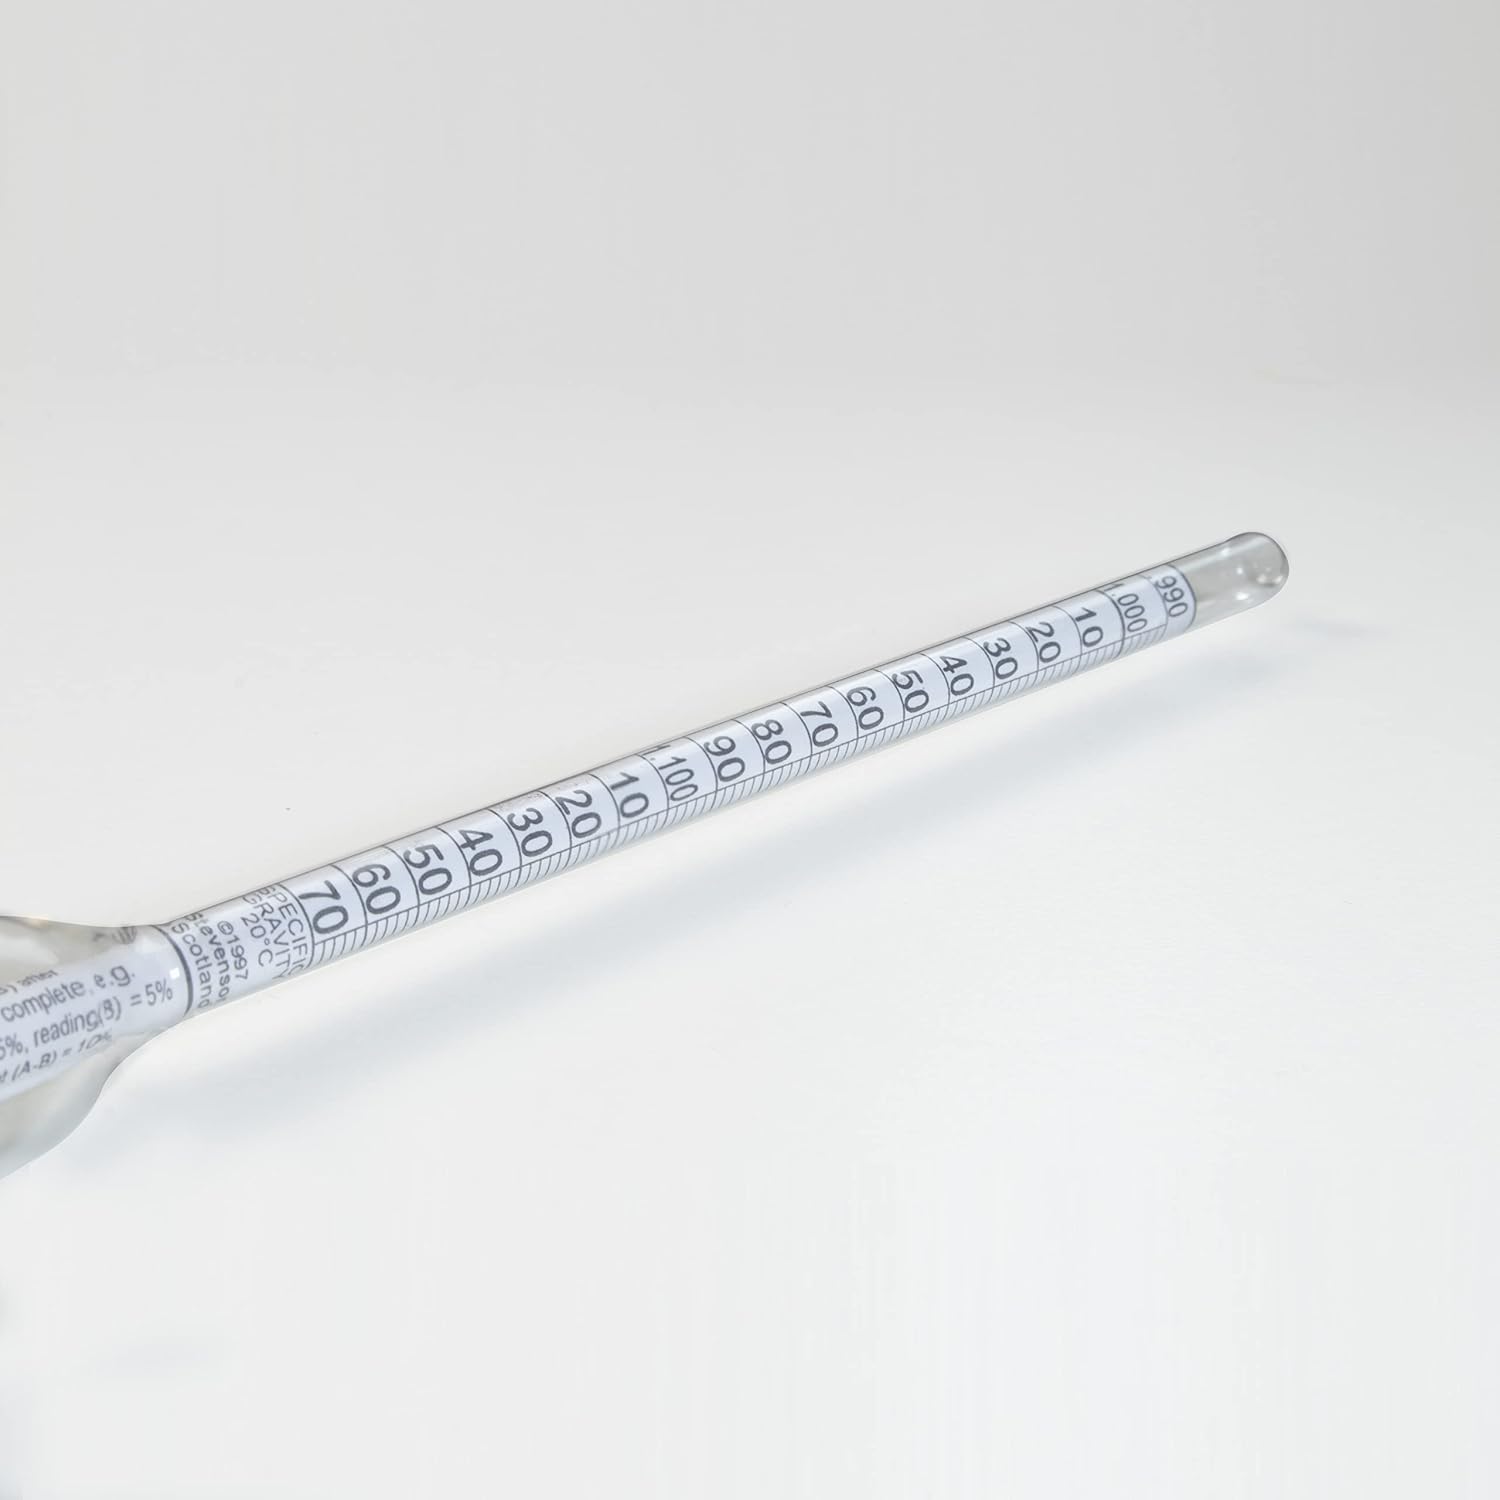
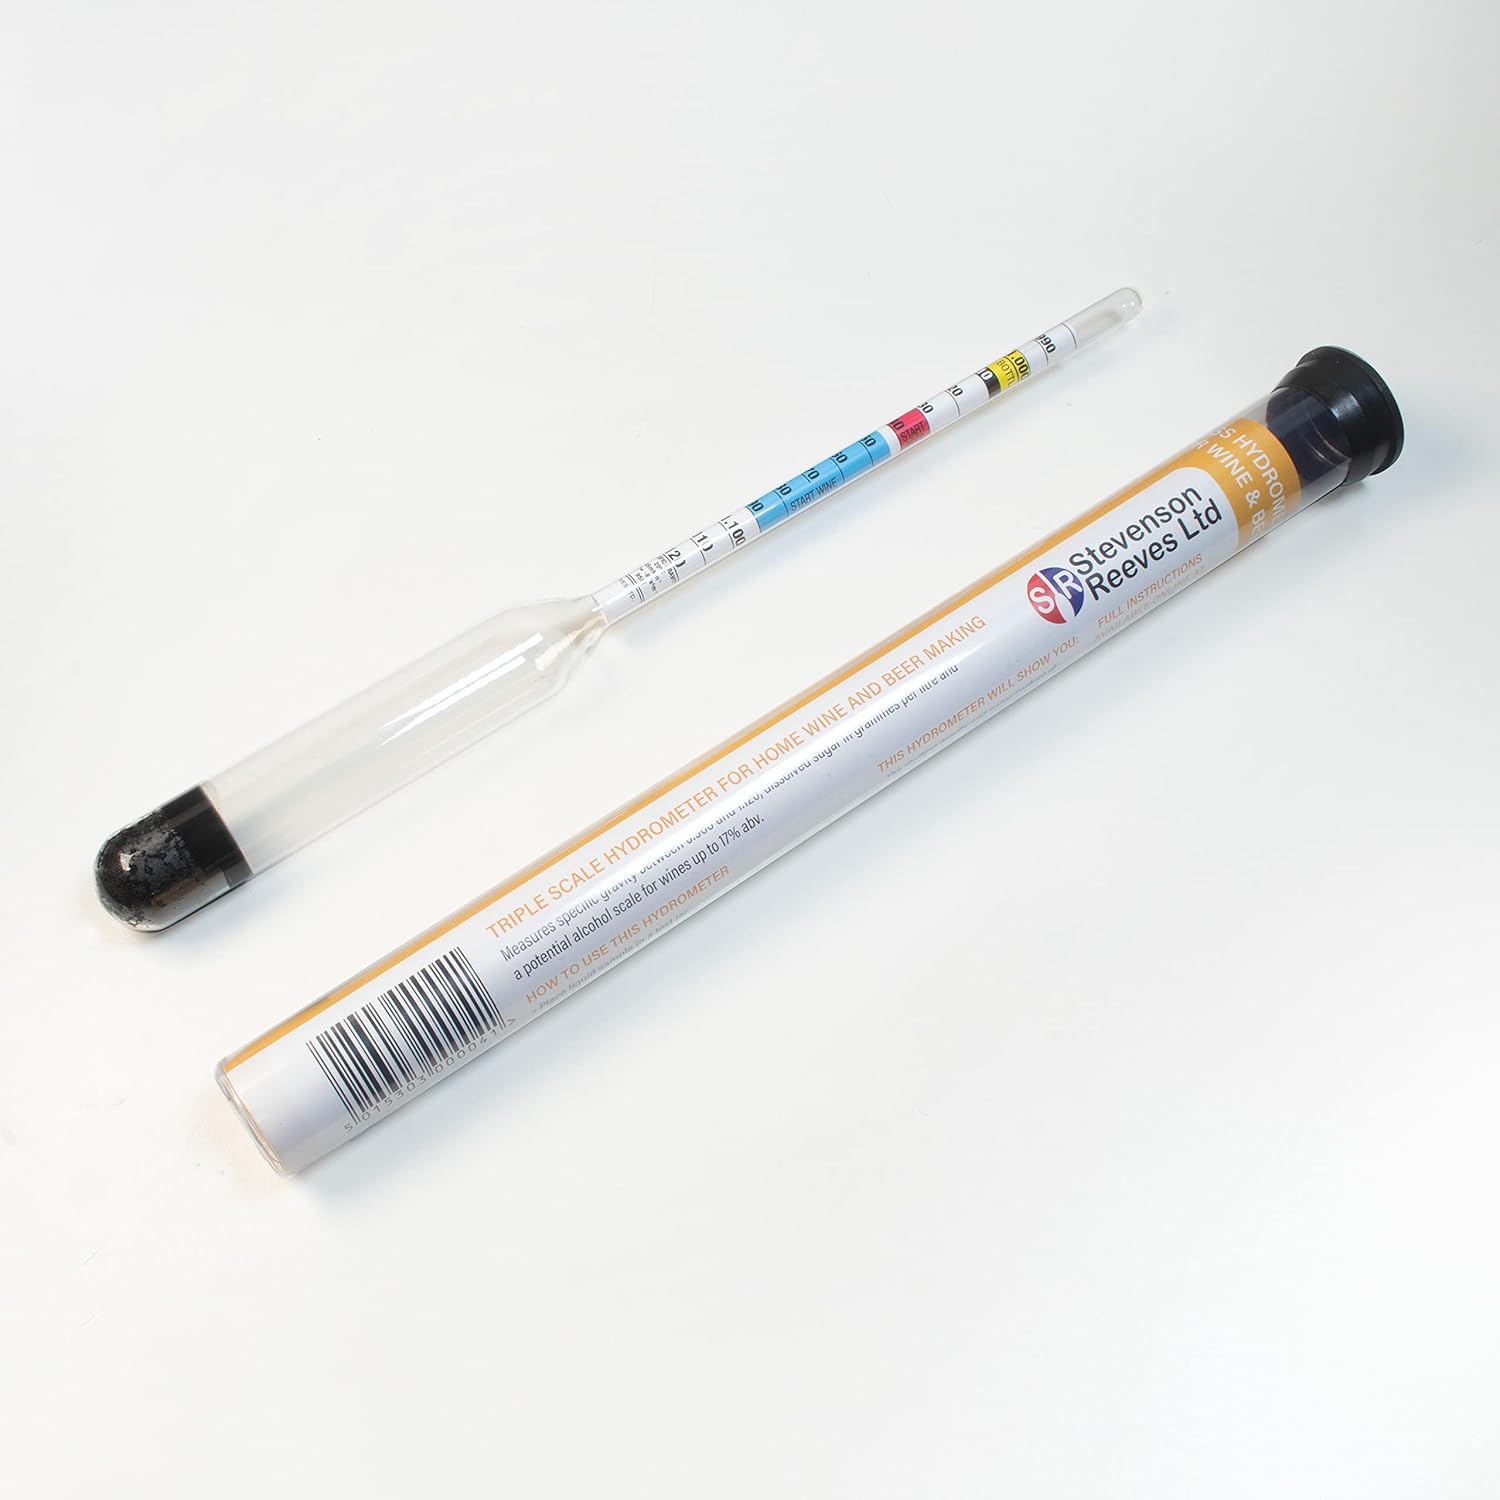
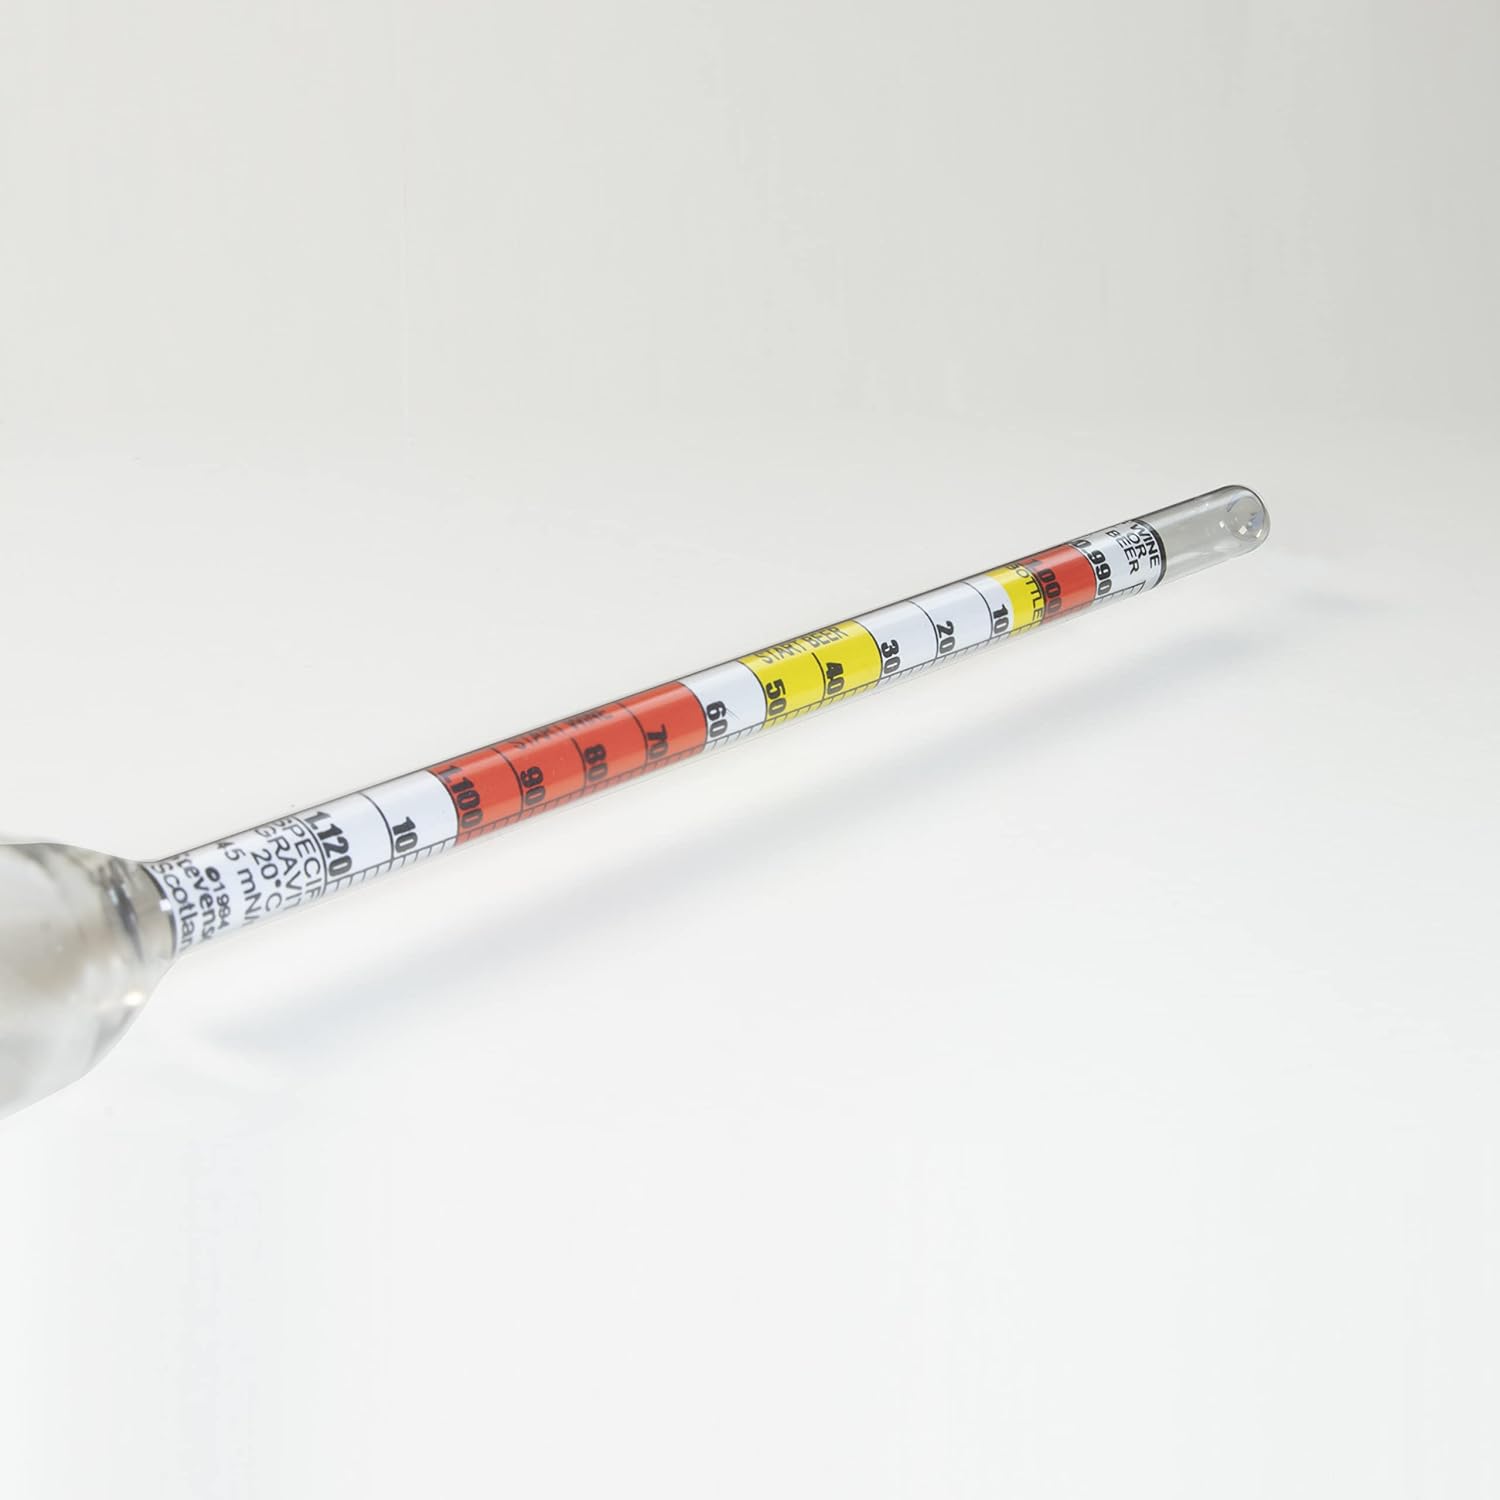
A triple scale hydrometer simply prints three different measurement systems on the same glass stem. Most brewing models include :
- Specific gravity (SG) – the classic 1.0xx scale used in most recipes
- Brix or Plato – percentage of sugar by weight, common in wine and professional brewing
- Potential alcohol – an estimate of how strong the beer could be if fermented dry
This makes it easier to follow recipes from different sources and to compare your results with commercial specs. A dedicated triple scale hydrometer for homebrewing gives you all three at a glance, without extra calculations.
Why understanding the scales improves your brewing
Once you are comfortable switching between SG, Brix or Plato, you can tune your mash temperatures, boil length and fermentation profile with much more confidence. That same understanding will also help you choose the right thermometer range and accuracy for mash, boil and fermentation, and later on it will make cleaning and caring for your measuring tools feel like part of a single, simple process rather than extra work.
Choosing the right brewing thermometer for mash, boil and fermentation
Key temperature zones in your brew day
Different stages of brewing need different thermometer strengths. During the mash, you are usually working between 148–158 °F (64–70 °C). Here, precision matters more than speed. A good digital probe with at least 0.5 °F (0.3 °C) resolution helps you hit your target mash profile and keep those enzymes happy.
For the boil, you mainly need to know when you are at a rolling boil and whether you are close to flameout or whirlpool temperatures. An analog dial thermometer mounted on your kettle is often enough, as long as it is calibrated and easy to read from a distance.
Fermentation is where many homebrewers quietly lose quality. Yeast performance can swing dramatically with just a few degrees. A stick-on LCD strip on the fermenter is better than nothing, but a thermowell with a digital probe gives a much truer picture of the actual beer temperature.
Types of brewing thermometers and where they shine
- Digital probe thermometers – Fast, accurate, and versatile. Great for mash checks, strike water, and spot-checking wort cooling.
- Dial (analog) thermometers – Rugged and always on. Ideal for permanent kettle installation, as long as you calibrate them regularly.
- Infrared (IR) thermometers – Handy for quick surface readings, but less reliable for deep liquid temperatures. Use them as a backup, not your only tool.
Practical features that actually matter
When choosing your thermometer, focus on response time, waterproofing, and readability in steam and low light. A folding probe that fits in your pocket is perfect for moving between mash tun, kettle, and fermenter, especially if you are also juggling hoses, valves, and even your draft beer tap handles on serving day.
How to read, clean and care for hydrometers and ABV testers
Getting accurate readings every time
Hydrometers and ABV testers are simple tools, but they only stay accurate if you treat them carefully. Always start with a clean, room-temperature sample. Rinse your test jar and hydrometer with clean water, then a splash of your wort or beer, before taking a reading. This helps avoid contamination and bubbles clinging to the glass.
When you take a reading, spin the hydrometer gently between your fingers. This dislodges bubbles that can make it float higher and give a falsely low gravity. Read at eye level, at the bottom of the meniscus (the curved surface of the liquid). Note the temperature of your sample and apply the correction factor recommended by the manufacturer or your brewing software.
Cleaning without damaging your tools
Hydrometers are fragile. Never use hot water, abrasive pads, or harsh chemicals. Instead :
- Rinse immediately after use with lukewarm water
- Use a soft bottle brush only if residue is visible
- Let it air-dry upright in its case or a clean jar
For ABV testers and refractometers, follow the same gentle approach. A quick rinse and a wipe with a soft, lint-free cloth is usually enough.
Storage, calibration and when to replace
Store your hydrometer in its protective tube, upright, away from heat and direct sunlight. A chipped or cracked hydrometer should be retired immediately, even if it still seems to float correctly.
From time to time, check calibration by floating the hydrometer in distilled water at the reference temperature printed on the scale. It should read 1.000. If it is consistently off by a known amount, you can compensate in your notes, but for precise brewing, replacing a faulty hydrometer is usually the better choice.
Matching your tools to your brewing style and budget
Essential tools for casual extract brewers
If you brew from extract kits or simple recipes, you can keep your toolkit lean. A basic, reliable floating hydrometer and a fast-reading digital thermometer are usually enough. Use the hydrometer mainly to confirm fermentation has finished and to estimate alcohol content. A waterproof probe thermometer that clips to your kettle or reads your wort in seconds will help you hit safe pitching temperatures and avoid stressing your yeast.
Dialing in gear for all-grain and step mashes
All-grain brewers benefit from more precision. Because mash temperature has such a big impact on body and fermentability, invest in a thermometer you trust completely. Many brewers pair a high-quality digital probe with a backup analog dial thermometer to cross-check readings. For gravity, a triple-scale hydrometer is handy : you can track specific gravity, potential alcohol, and Brix/Plato without switching tools, which makes recipe design and repeatability much easier.
Advanced setups for lager, mixed fermentation and beyond
If you brew lagers, cold-fermented ales, or mixed-fermentation beers, temperature control becomes critical. A thermometer with a long probe and good low-temperature accuracy helps you monitor fermentation chambers and cold crashes. Some brewers add a refractometer for quick pre-boil and post-boil checks, then confirm final gravity with a hydrometer for accuracy. For high-gravity or barrel-aged projects, consider keeping a second hydrometer dedicated to those stronger beers to avoid confusion and wear.
Balancing budget, durability and upgrade paths
Start with tools that are accurate, easy to read, and not so fragile that you are afraid to use them. As you brew more, you will learn where precision matters most in your process : mash, boil, or fermentation. Upgrade those specific tools first. A thoughtful approach like this keeps your spending under control while still giving you the data you need to improve every batch.