From water and grain to sweet wort
Choosing the right ingredients for your first mash
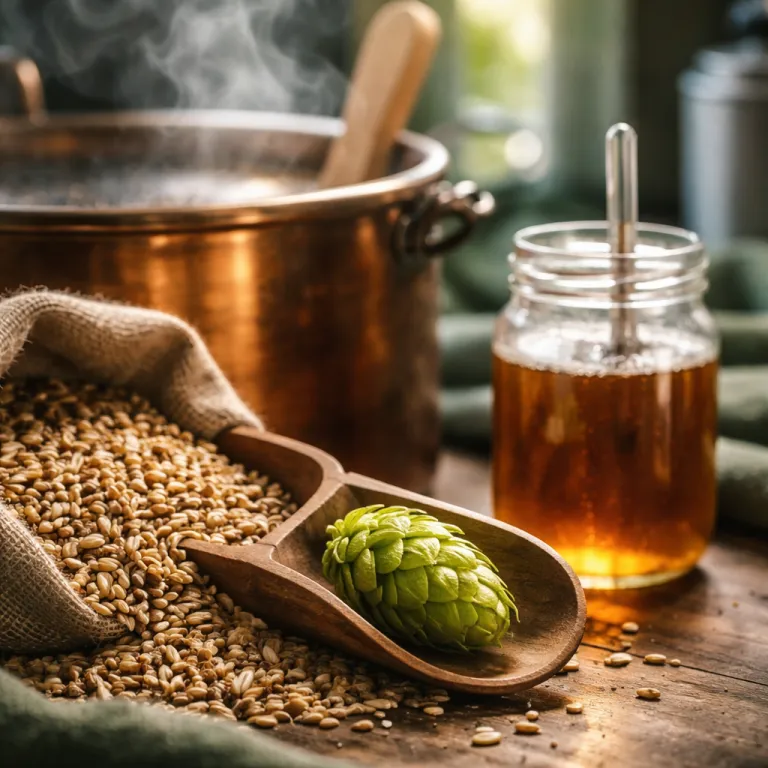
Every beer starts with four basic elements ; water, malted grain, hops and yeast. At this stage, we focus on water and grain. Brewers usually work with barley malt, sometimes adding wheat, oats or rye for texture and flavour. The quality of your water matters a lot ; its mineral content will influence mouthfeel and how bitterness is perceived later on.
If you are new to brewing, a good way to begin is to follow a proven recipe from reliable homebrewing guides. They help you understand how different malts build colour, sweetness and body, which you will taste again when you compare the finished beer with your gravity readings.
From crushed grain to sweet, aromatic liquid
The first real transformation happens during mashing. The malt is crushed to expose its starches, then mixed with hot water in a mash tun. Typical mash temperatures sit in a narrow range ; warm enough to activate enzymes, but not so hot that they are destroyed. These enzymes convert the grain’s starch into fermentable sugars, creating a thick, porridge-like mixture.
After a rest of about an hour, the liquid portion, now called wort, is separated from the grain. This step is called lautering. The grain bed itself acts as a natural filter, and the brewer may rinse it with more hot water to collect extra sugars. The result is a clear, sweet wort that already carries the colour and malt character of the future beer.
Next, this wort will be boiled with hops to build bitterness and aroma, then fermented with yeast to become young beer, before conditioning and tasting tie the whole process together.
Boiling wort, adding hops and shaping bitterness
Why the boil matters so much
Once you have your sweet wort, it is time to boil. This stage is not just about heating ; it is where you stabilise the wort, drive off unwanted aromas, and set the stage for clean fermentation. A vigorous boil sterilises the liquid, helps proteins clump together and fall out, and concentrates flavours by evaporating some water.
Timing hop additions for flavour and aroma
Hops are added at different moments in the boil, and each timing changes the beer’s character :
- Early additions (60 minutes or more) mainly create bitterness. The longer hops boil, the more alpha acids are isomerised, giving that firm bite in an IPA or a gentle edge in a lager.
- Middle additions (20–30 minutes) contribute flavour. You start to notice herbal, spicy, or fruity notes, depending on the hop variety.
- Late additions (10 minutes to flameout) focus on aroma. These hops spend less time in the boil, so their delicate essential oils stay in the beer instead of evaporating.
Modern brewers also use whirlpool or hop-stand additions, where hops steep in hot but not boiling wort. This can load a beer with juicy hop character without adding too much extra bitterness.
Managing bitterness and exploring alternatives
Bitterness is measured in International Bitterness Units (IBU). Brewers balance IBU against malt sweetness to keep a beer drinkable rather than harsh. Lighter styles might sit low on the IBU scale, while hop-forward ales push it higher.
If you enjoy fermentation projects beyond beer, the same attention to timing, temperature, and flavour layering appears in other drinks too. A good example is detailed in this guide to home-brewed kombucha techniques and flavour crafting, which mirrors many of the choices brewers make during the boil.
Yeast, fermentation and the birth of green beer
How yeast transforms wort into young beer
Once the hopped wort is cooled and oxygenated, it is time to add the real star of the show ; yeast. These microscopic fungi will eat the sugars you created earlier and turn them into alcohol, carbon dioxide and a whole range of flavour compounds.
Brewers choose between ale yeast (top-fermenting, warmer temperatures) and lager yeast (bottom-fermenting, cooler temperatures). Each strain brings its own character ; fruity esters in many ales, cleaner and crisper profiles in most lagers. Pitching the right amount of healthy yeast is crucial. Too little, and fermentation may stall or create off-flavours ; too much, and the beer can taste bland.
Controlling fermentation conditions
After pitching, the wort becomes “green beer” as fermentation kicks off. Within a day or so, you will see a foamy krausen forming on top and airlock activity increasing. Temperature control here is key. Warmer fermentation usually means faster activity and more fruity notes, while cooler fermentation slows things down and keeps flavours cleaner.
During this phase, yeast produces alcohol, CO₂ and flavour-active molecules. It also reabsorbs some unwanted by-products if given enough time. Rushing to the next step often leads to harsh or solvent-like notes, so patience really pays off.
Transferring and protecting your young beer
When the main fermentation slows and gravity readings stabilise, the beer is still young and somewhat rough around the edges. Many brewers gently transfer it off the yeast cake into a secondary vessel to help it clarify and mature. Using a professional auto siphon for homebrew transfers helps minimise oxygen pickup and keeps sediment behind.
At this stage, the beer is alcoholic but not yet bright or fully conditioned. The next part of the process will refine aromas, adjust carbonation and get it ready for the glass.
From green beer to bright, aromatic pints
Conditioning, clarifying and calming the beer
Once primary fermentation slows down, the beer is technically drinkable, but it is still rough around the edges. Brewers now focus on conditioning ; this is where flavours round out, harsh edges fade and the beer becomes clearer and more stable.
The first step is to separate the young beer from most of the yeast and sediment. In a brewery, this often means transferring to a conditioning tank. At home, it can be a careful siphon into a clean vessel. This simple move already improves clarity and helps prevent off-flavours from tired yeast.
Temperature plays a big role. Cooler conditioning encourages haze-forming proteins and remaining yeast to drop out. Many lagers spend weeks at low temperatures, a process called lagering, which creates that crisp, clean profile. Ales usually need less time, but still benefit from a short rest to let flavours integrate.
Carbonation and aroma polishing
Next comes carbonation. Breweries may inject CO₂ under pressure, while many homebrewers rely on natural carbonation by adding a small dose of sugar before sealing bottles or kegs. The remaining yeast ferments this sugar, producing gentle bubbles that give beer its lively mouthfeel and help lift aromas.
This is also the moment to fine-tune aroma. Some styles get a final dry hop addition during conditioning, adding fresh, bright hop notes without extra bitterness. Others are left untouched to highlight malt or fermentation character.
From cellar to glass
Time is the quiet partner in this stage. Even a few extra days can transform a beer from green and slightly harsh into something smooth, bright and expressive. When you finally pour a clear, aromatic pint, you are tasting the combined impact of every earlier step ; the mash, the boil, the hops and the fermentation all come together here.
Tasting beer, reading gravity and connecting with the brewing process
Training your palate with intention
When you taste a beer, you are checking the work done at every stage of brewing. Start by looking ; clarity, color and foam tell you how well the mash, boil and conditioning went. A hazy beer can be intentional, but unexpected cloudiness might hint at issues with lautering or fermentation.
Next, smell the beer before sipping. Swirl the glass gently and take short sniffs. Ask yourself ; do you notice grainy bread crust from the malt, herbal or fruity notes from the hops, or spicy and fruity aromas from the yeast ? These impressions link directly to choices made during mashing, hopping and fermentation.
Using gravity readings as a tasting compass
Hydrometer or refractometer readings are more than numbers ; they help you interpret what you taste. The original gravity (OG) reflects how much sugar the mash produced. A higher OG usually means more body and potential alcohol.
The final gravity (FG) shows how much sugar the yeast left behind. Compare OG and FG to estimate alcohol by volume, but also to understand balance :
- Higher FG ; fuller body, more sweetness, softer bitterness.
- Lower FG ; drier finish, crisper profile, bitterness feels sharper.
When you sip, think about how sweetness, bitterness and body match those readings. A beer that tastes thinner than expected may have fermented more completely than planned. A heavy, sweet finish might mean the yeast stopped early or the mash created lots of unfermentable sugars.
Building a feedback loop for better brewing
Keep simple notes ; appearance, aroma, flavor, mouthfeel, and how they relate to your gravity data. Over time, you will connect specific mash temperatures, hop schedules and fermentation profiles to what you experience in the glass, turning each tasting into a practical lesson for your next brew day.