From idea to first brew day : turning a brewery installation dream into a real plan
Clarifying why you want to open a brewery
Before you think about tanks, hoses and shiny stainless steel, you need a clear reason for opening a brewery. Is your goal to run a neighborhood taproom, supply local bars, or eventually distribute regionally ? Each path shapes your installation needs, from brewhouse size to how you design your future taproom and production space.
Write down your vision in simple terms :
- What styles of beer do you want to be known for ?
- How many days per week do you plan to brew ?
- Do you want a taproom, distribution, or both ?
- Are you aiming for slow, steady growth or fast expansion ?
This vision will guide your choices later when you size your system, plan your layout and think about how to scale up without wasting money.
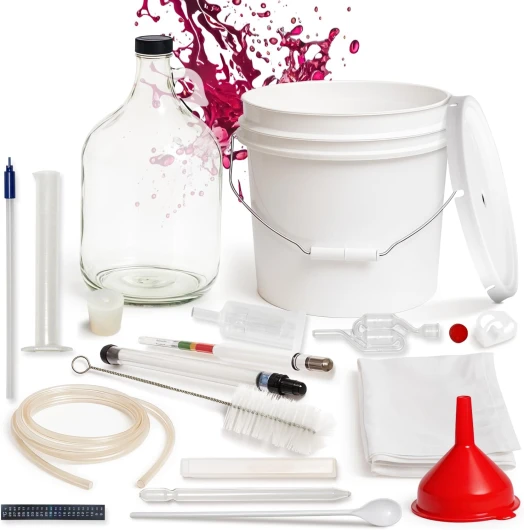
Translating your idea into a realistic first-batch plan
Once your vision is clear, turn it into numbers. Start with a simple target : how many pints or hectoliters do you want to sell in your first year ? Work backward from there to estimate how many batches you will need, and what brewhouse capacity makes sense for a first installation.
At this stage, it is useful to think about how your beer will reach people. Will you pour everything on site, or will some volume go into kegs for events and parties ? Understanding how draft beer fits into your business model, including practical aspects like keeping kegs cold for reliable pours, helps you avoid surprises later.
The more concrete your first-batch plan is, the easier it becomes to choose equipment, design a functional layout and build a realistic path from small test batches to a fully operational brewery.
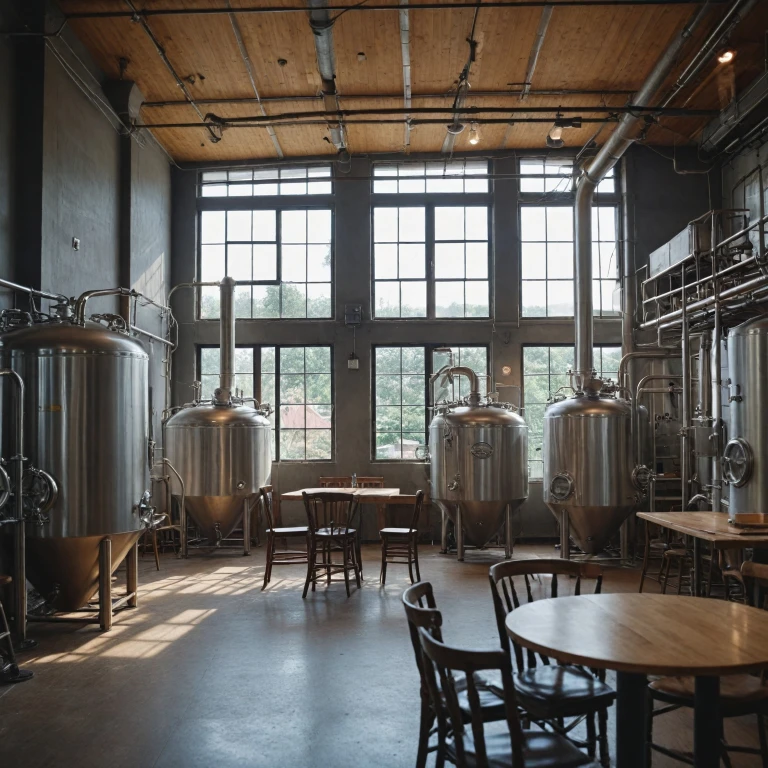
Sizing your brewing system and brewery equipment without wasting money
Choosing a brewhouse that fits your goals
Before buying shiny stainless steel, be clear about what you want to brew, how often, and for whom. A small neighborhood taproom, a production-focused brewery, and a brewpub all have very different needs. Start from your projected annual volume and work backward to a realistic brewhouse size, keeping in mind your space, utilities, and staffing plans from other parts of your project.
Many new brewers are tempted to oversize “just in case”. Instead, aim for a system you can run efficiently at least two or three times per week. It is usually better to brew more frequently on a right-sized system than to run an oversized brewhouse at half capacity.
Balancing brewhouse size and cellar capacity
Your brewhouse and fermentation tanks must work together. A common rule of thumb is to have two to four times your brewhouse volume in fermenters. For example, a 10-barrel brewhouse might pair with 40 barrels of fermentation capacity. This balance helps you avoid idle tanks or, worse, a brewhouse that cannot keep up with demand.
Think about your beer lineup from the start. Lagers tie up tanks longer than ales, and seasonal or barrel-aged beers can block capacity if you do not plan carefully. Aligning your recipes with your tank farm is as important as the brewhouse itself.
Spending where it matters, saving where you can
Not every piece of equipment needs to be top-of-the-line. Prioritize reliable brewhouse controls, quality fermentation vessels, and a chiller sized for future growth. You can often start with a modest canning or kegging setup and upgrade later.
When building your budget, include installation, freight, and local compliance costs. These often surprise new owners and can eat into funds you hoped to use for marketing or taproom design. Planning with a clear financial strategy, supported by strong sales and marketing for breweries, helps ensure your equipment choices pay off over time.
Water, control and the brewing process that keeps your beer consistent
Designing your water and utilities for reliable brewing
Water is more than just the main ingredient in beer ; it is the backbone of your entire brewing installation. Before you sign off on any equipment order, map out how water enters, moves through, and leaves your brewery. You will need separate lines and clear labeling for hot liquor, cold brewing water, and cleaning water, plus enough pressure and flow to run your brewhouse and cellar at the same time.
Plan for treatment from day one. Even a small brewery benefits from basic filtration and carbon treatment to remove chlorine and chloramine. If your local water profile does not match the beer styles you want to brew, budget for reverse osmosis and a mineral dosing system. This is where you lock in the foundation of flavor and consistency, whether you are brewing a crisp pilsner or a hazy IPA.
Temperature control is the second pillar. Glycol chillers, insulated fermenters, and well sized heat exchangers keep your wort and beer within tight ranges. Good control panels let you set and monitor temperatures, pump speeds, and tank pressures, so each batch follows the same path from mash to bright tank. This level of control also supports clear labeling and quality claims, for example when you explain if your beer is vegan friendly and how it is processed.
Finally, integrate cleaning and sanitation into your layout, not as an afterthought. Fixed CIP lines, dedicated chemical storage, and easy hose routes reduce labor and help your team repeat the same cleaning cycle every time. Consistent water, stable temperatures, and repeatable cleaning routines are what turn your brewing plan into reliable, sellable beer.
From building brewery layout to taproom flow and daily work
Designing a brewery layout that actually works
When you move from recipe design to building space, think like a brewer and a forklift driver at the same time. Your layout should follow the natural path of beer : from malt delivery to brewhouse, to fermentation, to cold storage, then to serving or packaging. Every time you cross those paths or backtrack, you add risk, confusion and wasted effort.
Start with the “wet side” of the brewery. Group brewhouse, hot liquor tank, cold liquor tank, fermenters and cellar equipment so hoses stay short and floor drains are easy to reach. Keep grain handling and milling slightly separated to reduce dust near stainless and electronics. Plan clear routes for pallet jacks and kegs, with no tight corners where people and equipment will constantly collide.
Creating a smooth taproom and service flow
Your taproom is where guests feel the result of all that planning. Place the bar so staff can see the door, the seating area and the brewery, without turning their backs on guests. Keep the walk from cold room to draft tower as short and straight as possible to protect beer quality and reduce service time.
Think about how people move : where they order, where they wait, where they pick up food, and how they find restrooms. Avoid bottlenecks at the entrance and bar by giving clear visual cues with lighting, signage and furniture placement. If you plan tours, design a safe path that shows off tanks and brewhouse without crossing busy work zones.
Finally, leave room to grow. Future tanks, a canning line or extra seating should have a logical place, so expansion does not force you to tear up drains or move your bar later.
Money, time and a realistic path from small batch to full brewery installation
Budgeting for more than stainless steel
When people picture brewery installation costs, they often think only about brewhouse and fermenters. In reality, your budget must also cover utilities, permits, cold storage, lab gear, furniture, point-of-sale, and a cash buffer for the first months of operation. Go back to your original concept and production goals and list every expense needed to support that vision, from malt mill to mop bucket.
A simple way to structure your budget :
- Fixed costs : rent, insurance, licenses, loan payments.
- Variable costs : ingredients, packaging, utilities tied to production.
- One-time costs : construction, equipment, design, initial marketing.
Build in a contingency of at least 10–15 % for surprises such as extra plumbing, upgraded electrical work, or delays in approvals.
Phasing your growth without losing your shirt
Your first system size and layout should match what you can realistically sell, not just what you hope to brew. Use the production targets you defined earlier to plan a phased path :
- Phase 1 : pilot or small brewhouse, limited taproom hours, minimal distribution.
- Phase 2 : more fermenters, longer hours, local accounts.
- Phase 3 : packaging upgrades, broader distribution, possible second location.
Design your utilities, floor drains, and workflow so you can add tanks or a canning line later without tearing everything apart. It is often better to start slightly smaller, hit capacity, then expand with proven demand than to carry debt on idle stainless.
Timeframes, cash flow and staying realistic
Installation almost always takes longer than planned. Map out a timeline from lease signing to first pint served, then extend it. Model your cash flow for that entire period, including months with no revenue. Align your personal finances and expectations with this reality ; a sustainable pace will keep you brewing long after the excitement of opening day.