Why a kegerator kit changes your beer game
Elevate your beer experience at home
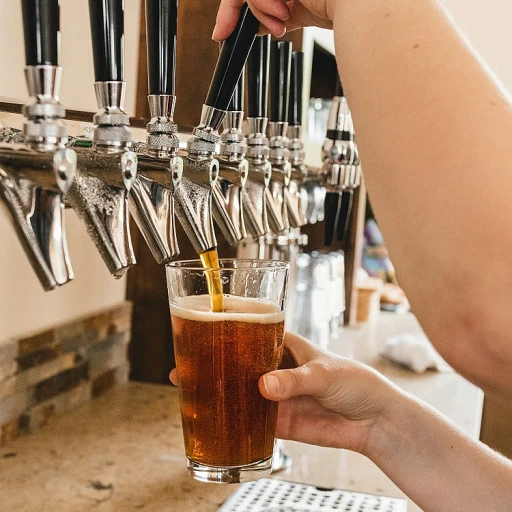
Bringing a kegerator kit into your home isn’t just about convenience—it’s about transforming the way you enjoy beer. Imagine pouring a perfectly chilled pint, straight from the tap, whenever you want. With a kegerator kit, you can say goodbye to bottles and cans cluttering your fridge and hello to fresh, draft-quality beer in your own space.
Why draft beer stands out
Draft beer often tastes fresher and more vibrant than its bottled or canned counterparts. This is because it’s kept at optimal temperatures and protected from light and oxygen, preserving the flavors and aromas that brewers work hard to create. If you’re curious about what makes a creamy ale so smooth and satisfying, check out this guide on mastering the art of brewing a creamy ale.
Sharing and experimenting with friends
Hosting friends or family becomes more fun with a kegerator kit. You can offer a variety of beer styles, swap out kegs for new flavors, and even experiment with homebrews. Plus, you’ll find that pouring the perfect pint is a conversation starter and a source of pride for any beer enthusiast.
Setting the stage for your setup
Ready to take the next step? The following sections will walk you through what’s included in a kegerator kit, how to select the right components, and even share stories from homebrewers who have built their own setups. Whether you’re a seasoned beer lover or just starting out, a kegerator kit can truly change your beer game.
What’s inside a kegerator kit: from faucet to keg coupler
Essential components for fresh draft beer at home
A kegerator kit is more than just a fridge with a tap. It’s a complete system designed to keep your beer fresh, cold, and perfectly carbonated. Here’s what you’ll typically find in a quality kit:
- Keg coupler: This connects your keg to the rest of the system, ensuring a tight seal and smooth flow.
- CO2 tank and regulator: The CO2 tank provides the pressure needed to push beer from the keg to your glass. The regulator lets you control that pressure for the perfect pour.
- Beer and gas lines: Food-grade tubing safely carries beer and CO2 between components.
- Faucet and tap handle: The faucet dispenses your beer, while the tap handle adds a personal touch and makes pouring easy.
- Drip tray: Catches any spills and keeps your setup tidy.
- Shank: This metal tube connects the faucet to the beer line through the fridge wall.
How each part impacts your beer experience
Each component plays a role in delivering a fresh, flavorful pint. For example, a high-quality regulator helps you avoid over-carbonation or flat pours, while a sturdy faucet ensures a smooth, consistent flow. Choosing the right parts can make all the difference in your home draft system.
As you explore options, keep in mind that some kits offer upgrades like dual-tap systems or stainless steel fittings for added durability. These features can enhance your setup, especially if you plan to serve different beer styles or entertain guests.
For those interested in the business side of draft beer, check out these brewer sales and marketing strategies to see how professional setups influence the industry.
Price and sale tips: getting the best deal on your kit
Smart strategies for saving on your kegerator kit
When it comes to buying a kegerator kit, prices can vary widely based on the components, brand, and where you shop. Here are a few tips to help you get the most value for your money:
- Compare complete kits and build-your-own options: Some retailers offer bundled kits that include everything you need, while others let you customize your setup. Compare both to see which fits your needs and budget best.
- Look for seasonal sales and discounts: Many homebrew shops and online retailers run promotions around holidays or during the off-season. Signing up for newsletters can alert you to these deals.
- Consider refurbished or open-box equipment: These can offer significant savings and still deliver reliable performance. Just make sure to check warranties and return policies.
- Factor in shipping costs: Kegerator kits can be bulky and heavy, so shipping fees may add up. Some sellers offer free shipping on larger orders, which can tip the scales in their favor.
- Don’t forget the extras: Essential accessories like cleaning kits, extra lines, or CO2 refills can add to your total cost. Plan ahead so you’re not caught off guard.
For those interested in maximizing efficiency and keeping your beer fresh during transport or storage, check out this guide on mastering the art of beer packing. It’s packed with practical advice that complements your kegerator setup.
How to choose the right keg, tank, and lock for your setup
Matching your keg size to your needs
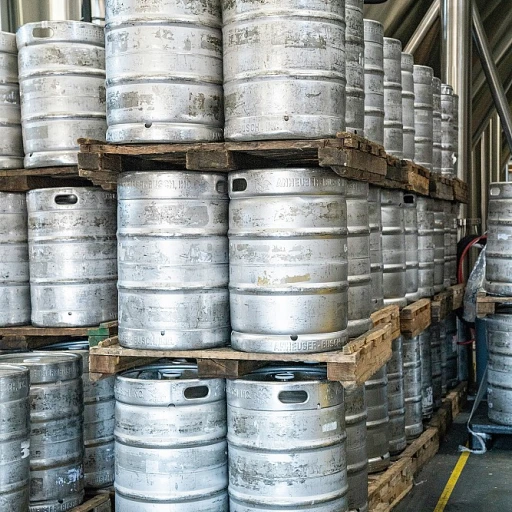
Choosing the right keg is all about your drinking habits and available space. If you host frequent gatherings or enjoy a variety of beers, a larger half-barrel keg might be ideal. For smaller households or limited fridge space, consider a slim quarter or sixth barrel. Homebrewers often opt for Cornelius kegs for their ease of cleaning and versatility.
CO2 tank: balancing capacity and convenience
The CO2 tank is crucial for keeping your beer fresh and carbonated. A 5-pound tank is common for home setups, offering enough gas to dispense several kegs before refilling. If you plan to serve multiple kegs or want fewer refills, a 10-pound tank could be a better fit. Remember, tank size also depends on how often you use your kegerator and the number of taps you have.
Locks and security for peace of mind
Adding a lock to your kegerator setup isn’t just about keeping out curious kids or roommates—it also helps maintain your beer’s quality by preventing unnecessary opening. Many kegerator kits offer faucet locks or door locks, so you can choose the level of security that fits your environment.
- Tip: When selecting your components, think about your available space, how many people you’ll serve, and how often you’ll use your kegerator. This will help you create a setup that’s both practical and enjoyable.
Once you’ve picked the right keg, tank, and lock, you’re well on your way to a seamless home draft experience—just like the homebrewers who have shared their conversion stories.
DIY kegerator conversion: stories from homebrewers
Homebrewers share their kegerator conversion experiences
Many beer enthusiasts have taken the plunge and transformed old fridges or chest freezers into custom kegerators. Their stories highlight both the challenges and the satisfaction of building a personalized draft system at home.- Choosing the right components: Homebrewers often emphasize the importance of selecting compatible parts, such as the correct keg coupler and CO2 tank size. This ties back to understanding what’s included in a kegerator kit and how each piece fits your setup.
- Planning the layout: Before drilling or cutting, many recommend mapping out where faucets, shanks, and gas lines will go. This helps avoid mistakes and ensures a clean, professional look.
- Learning from mistakes: Some share stories of leaks or pressure issues, which they resolved by double-checking connections and using quality seals. These experiences underline the value of investing in reliable equipment and understanding how each part works together.
- Personal touches: From custom tap handles to chalkboard doors for labeling what’s on tap, DIY kegerator builders love adding unique features that reflect their personality and brewing style.
Tips from the DIY community
- Start with a solid plan and measure twice before making modifications.
- Don’t hesitate to ask for advice on homebrewing forums or local clubs—many are eager to help newcomers avoid common pitfalls.
- Keep spare parts on hand, such as extra gaskets and clamps, for quick fixes.
- Regularly clean and maintain your system to keep your beer tasting fresh and your equipment running smoothly.

